Are you ready to embark on your Raspberry Pi journey? Whether you’re a hobbyist, an IoT enthusiast, or looking to integrate this versatile microcontroller into your home automation system, setting up your Raspberry Pi is the crucial first step. This guide will walk you through the process, ensuring a smooth start to your project.
Essential Requirements
- Before diving into the setup process, gather these key components: A Raspberry Pi board
- A high-quality SD card (minimum 16GB)
- Power supply
- Optional: monitor, keyboard, and mouse for initial setup
SD Card Selection:
Opt for a Class 10 or UHS-1 (or better) SD card from a reputable manufacturer. This ensures optimal performance and reliability for your Raspberry Pi projects.
Initial Setup Process:
Preparing Your Raspberry Pi
- Insert the SD card into your Raspberry Pi
- Connect the power supply
- Wait for the initial boot (this may take 2-3 minutes)
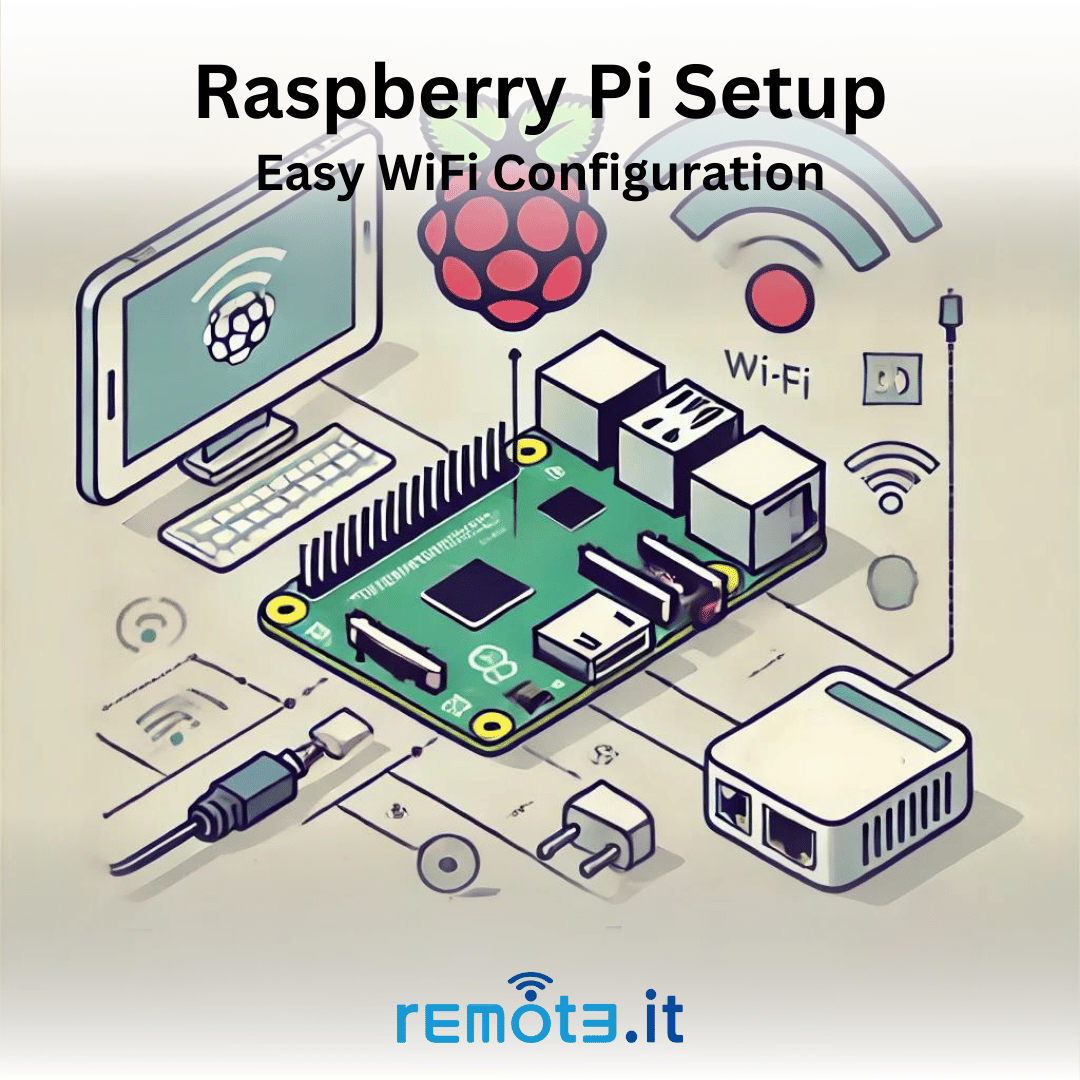
**Important:**The following steps must be completed within the first 10 minutes after booting, or you’ll need to restart the process.Configuring Wi-Fi
- Setting up Wi-Fi on a headless Raspberry Pi (without a monitor) can be challenging. However, Remote.It has developed a solution to simplify this process: Use the Remote.It OS image with Bluetooth Wi-Fi configuration
- Follow the provided instructions to set up Wi-Fi using your smartphone
This method eliminates the need for a keyboard, mouse, or monitor during the initial setup. Remote Access Setup
- After establishing Wi-Fi connectivity, you have the option to enable remote access to your Raspberry Pi: Register your Raspberry Pi with Remote.It
- Choose the services you want to access remotely (e.g., SSH)
- Ensure the selected services are enabled on your Raspberry Pi
This setup allows you to access your Raspberry Pi from anywhere, enhancing its versatility for various projects. Advanced Configuration
- For those looking to customize their Raspberry Pi further, Explore Remote.It’s developer documentation
- Learn about their open-source Wi-Fi onboarding package
- Investigate image production options
- Utilize the GraphQL API for advanced integrations
Conclusion
Setting up your Raspberry Pi doesn’t have to be daunting. With the right tools and guidance, you can have your device up and running in no time. Whether you’re using it for home automation, as an IoT device, or for educational purposes, a properly configured Raspberry Pi opens up a world of possibilities. Remember, the key to a successful setup lies in using quality components, following the steps carefully, and exploring the vast resources available to Raspberry Pi enthusiasts. Happy tinkering!