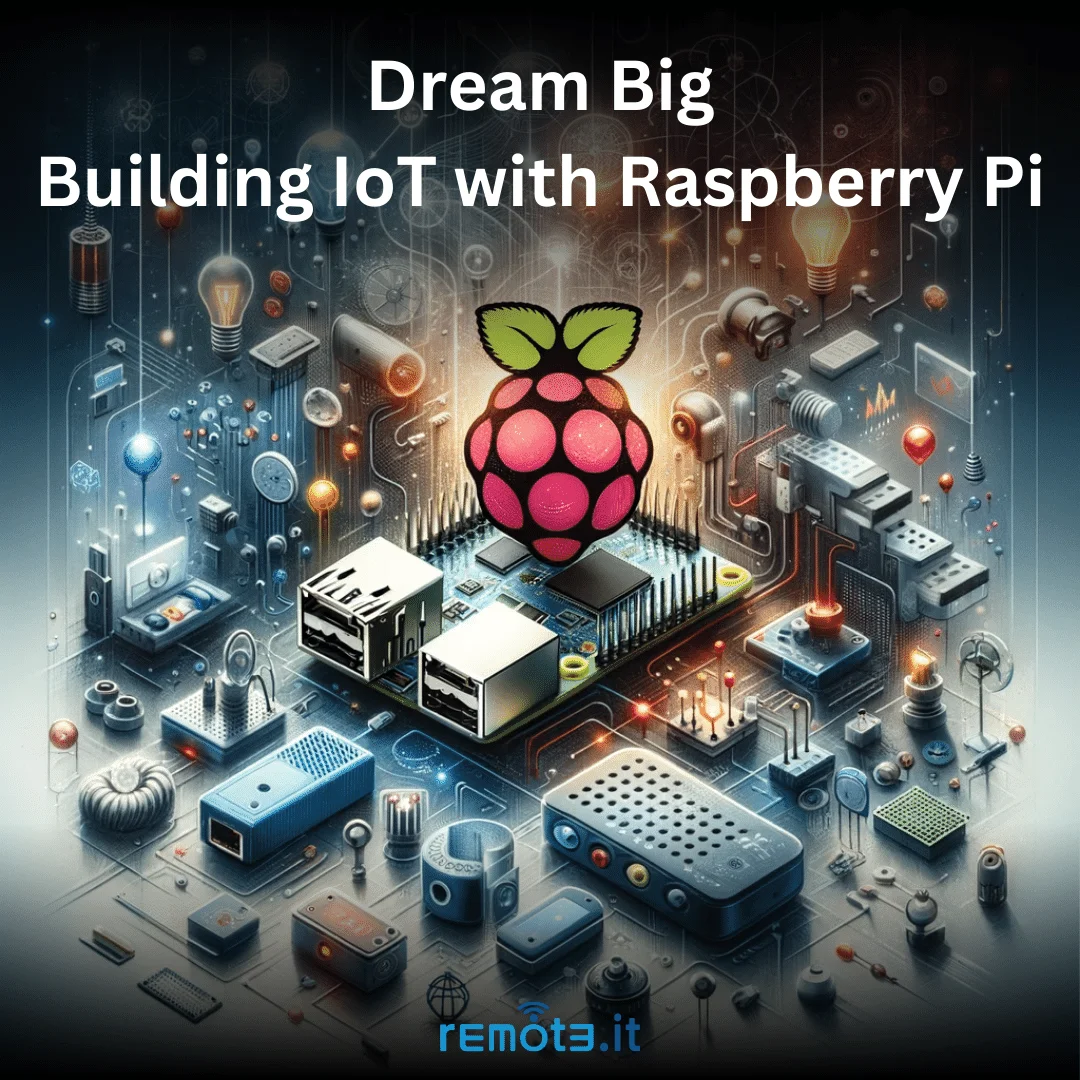
Starting an IoT (Internet of Things) project with a Raspberry Pi as the base platform is an exciting endeavor. The Raspberry Pi is a versatile and cost-effective computer that can serve as the heart of a wide range of IoT applications. Let’s break down the process into clear, actionable steps, ensuring that you can embark on this journey with confidence and clarity.
- Define Your Project Goals
- Start by outlining the objectives and functionality of your IoT project. What problem are you aiming to solve? What sensors or devices will you need? For instance, if you’re creating a smart weather station, you might need sensors for temperature, humidity, and air pressure.
- Gather the Necessary Hardware
- Raspberry Pi: Choose a model that fits your project’s requirements. The Raspberry Pi 3 or 4 are good options for most IoT projects due to their balance of power and size.
- Sensors and Actuators: Based on your project, select appropriate sensors (like temperature, motion, light) and actuators (like motors or LEDs).
- Power Supply: Ensure you have a reliable power source for your Raspberry Pi.
- SD Card: For installing the operating system and storing data.
- Other Accessories: This may include cables, a breadboard, and jumper wires for connections.
- Set Up the Raspberry Pi
- Install an Operating System: Download and install an OS like Raspberry Pi OS onto your SD card.
- Initial Configuration: Connect your Raspberry Pi to a monitor, keyboard, and mouse. Power it up and go through the initial setup, such as setting up Wi-Fi and enabling SSH for remote access.
- Install Remote.It: This step ensures you can access your Raspberry Pi remotely from any location, regardless of the network environment — be it home, school, or work.Here’s how to install Remote.It.
- Programming Environment
- Choose a programming language that suits your project. Python is widely used in the Raspberry Pi community and supports GPIO (General Purpose Input/Output) and IoT libraries.
- Install the necessary libraries and tools for your project. For instance, if you’re working with sensors, you might need specific libraries to interface with them.
- Connect Sensors and Devices
- Connect your sensors and actuators to the Raspberry Pi’s GPIO pins. Be mindful of the voltage requirements and pinout specifications.
- Test each component individually to ensure they are working correctly.
- Develop Your Software
- Write the code to control your sensors and actuators. This might involve reading sensor data, processing it, and triggering actions or responses.
- If your project involves data collection, consider how you will store and manage this data. You might use local storage on the Raspberry Pi or send the data to a cloud service.
- Connectivity and Communication
- If your project requires internet connectivity, ensure your Raspberry Pi is connected to Wi-Fi.
- For projects that need remote monitoring or control, consider implementing a web server on the Raspberry Pi or using MQTT (Message Queuing Telemetry Transport) for lightweight messaging.
- Testing and Troubleshooting
- Test your entire system to ensure everything works together seamlessly.
- Debug any issues that arise. This might involve checking software logs, verifying connections, and ensuring power stability.
- Deployment
- Once everything is working, deploy your project in its intended environment.
- Ensure it has a stable power supply and is protected from environmental factors like moisture and dust.
- Maintenance and Updates
- Regularly check your system for updates and apply them as needed.
- Monitor the performance of your IoT device and make adjustments or repairs if necessary.
- Maintenance and updates can be performed remotely using Remote.It
Throughout this process, keep documentation of your steps and configurations, making it easier to troubleshoot and iterate on your project. With a mix of creativity, technical skill, and careful planning, you’ll be well on your way to creating a successful IoT project using a Raspberry Pi.